How to Setup VPN on Mac: A Comprehensive Guide
In today's digital age, protecting your online privacy is more crucial than ever. A Virtual Private Network (VPN) is an essential tool that allows you to secure your internet connection and keep your data private. If you're a Mac user looking to setup VPN on Mac, you've come to the right place. This detailed guide will provide you with all the information you need to set up a VPN service on your Mac easily.
What is a VPN and Why Do You Need It?
A VPN establishes a secure, encrypted connection between your device and the internet. This connection masks your IP address and protects your online activities from prying eyes. Here are a few compelling reasons to consider a VPN:
- Enhanced Privacy: A VPN encrypts your internet traffic, making it difficult for hackers, ISPs, and government agencies to monitor your online activities.
- Access Restricted Content: With a VPN, you can bypass geographical restrictions and access content that may not be available in your location.
- Public Wi-Fi Security: Public networks can be dangerous, but a VPN offers security, ensuring that your personal information remains safe.
- Anonymity while Browsing: A VPN helps you surf the web without revealing your actual location or identity.
Choosing the Right VPN Provider
Before you can setup VPN on Mac, you need to choose a reliable VPN provider. Here are key factors to consider:
- Security Features: Look for options such as AES-256 encryption, a no-logs policy, and a kill switch.
- Speed: Choose a VPN that provides fast connections to ensure a smooth online experience.
- Supported Protocols: A good VPN should support multiple protocols like OpenVPN, IKEv2, and L2TP.
- Customer Support: Opt for a provider with 24/7 support to help you with any issues that arise.
How to Setup VPN on Mac: Step-by-Step Instructions
Once you've chosen a VPN provider, follow these detailed steps to setup VPN on Mac:
Step 1: Sign Up for a VPN Service
Visit the website of your chosen VPN provider. After selecting a plan that suits your needs, complete the sign-up process. This often involves providing an email address and payment information.
Step 2: Download and Install the VPN App
Most reputable VPN services offer an app for macOS:
- Go to the download section of your VPN provider’s website.
- Download the macOS application.
- Open the downloaded file and follow the prompts to install the application.
Step 3: Launch the VPN App
After installation, locate the VPN application in your Applications folder and launch it. You may need to enter your login credentials to access the app.
Step 4: Configure VPN Settings
Before connecting, configure the settings to suit your preferences. Here’s how:
- Select a VPN Protocol: Go to the settings menu and select the preferred protocol. OpenVPN is often recommended for its balance of speed and security.
- Enable the Kill Switch: This feature cuts off internet connectivity if the VPN connection drops, ensuring that your data remains secure.
Step 5: Connect to a VPN Server
Select a server from the list provided by the application. Ideally, you should choose a server that’s closest to your location for optimal speed.
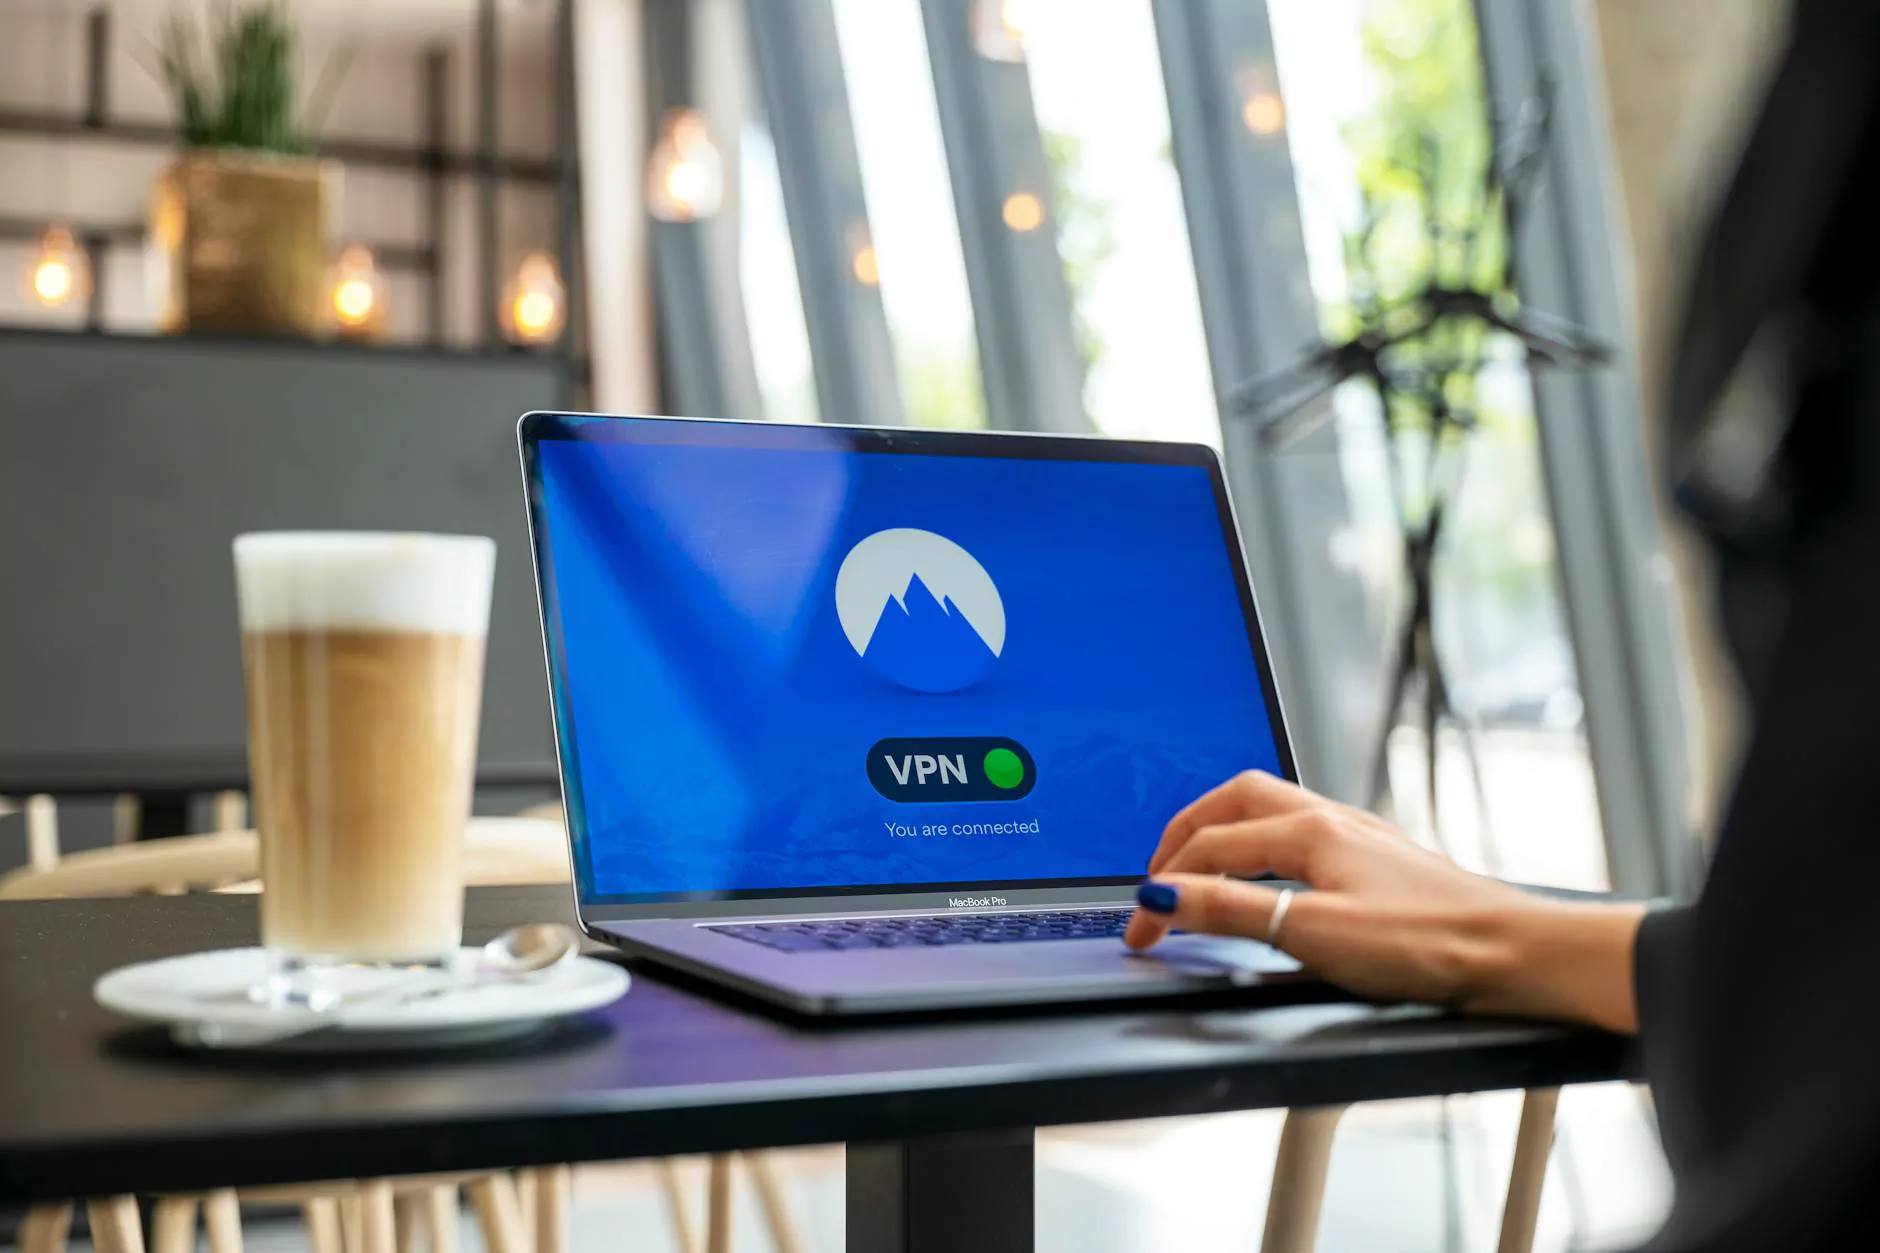
Click the connect button. Upon successful connection, the app should notify you that your VPN is active. At this point, you have successfully setup VPN on Mac!
Troubleshooting Common VPN Issues on Mac
If you encounter issues after setting up your VPN, consider the following troubleshooting tips:
- Connection Drops: If your connection drops frequently, try switching to a different server or VPN protocol.
- Slow Speeds: If you're experiencing slow speeds, connect to a server with less traffic or closer proximity.
- Cannot Connect: Ensure that your internet connection is stable. If problems persist, try restarting the VPN app or rebooting your Mac.
Advanced VPN Features for Mac Users
After you successfully setup VPN on Mac, you may want to explore additional features provided by your VPN service:
- Split Tunneling: This feature allows you to choose which applications or websites use the VPN connection and which use your normal internet connection.
- Multi-Hop Connections: Enhances your privacy by routing your connection through multiple servers.
- Dedicated IP Address: Some VPNs offer dedicated IPs that can be beneficial for online banking or accessing certain services securely.
Best Practices for Using a VPN on Mac
To maximize the benefits of your VPN, consider these best practices:
- Always Connect to VPN: Make it a habit to connect to your VPN before browsing, especially on public networks.
- Regularly Update Your VPN App: Keep your application up-to-date to ensure that you’re using the latest security features and improvements.
- Review Privacy Policies: Regularly check the privacy policy of your VPN provider to understand how they handle your data.
- Test Your VPN: Use online tools to test for IP leaks or check if your VPN is functioning properly.
Conclusion
Setting up a VPN on your Mac is a straightforward process that significantly enhances your online privacy and security. By following this guide to setup VPN on Mac, you can enjoy a more secure browsing experience, access geo-restricted content, and ensure your personal information remains protected. As the digital landscape continues to grow, investing in a reliable VPN is not just smart; it's necessary for anyone concerned about their online safety.
For further assistance with VPN services or to learn more about secure internet browsing, consider visiting ZoogVPN. Our dedicated team is committed to helping you secure your internet connection and enjoy online freedom.